Staging Patches
This guide will walk through how to validate a patch in Patchwing’s staging environment before promoting the patch to production.
Prerequisites
Section titled “Prerequisites”This guide assumes the Patchwing command-line is installed on your machine and that you are logged into an account. Refer to the getting started instructions for more information.
Create a Project
Section titled “Create a Project”Create a new project using patchwing create example --empty.
This will create a patchwing.yaml file in the root of your project. This file
contains your Patchwing app_id. Your app_id is not secret and can be checked
into source control and freely shared.
The generated patchwing.yaml should look something like:
Create a release
Section titled “Create a release”Now that we’ve created our apps on patchwing, we need to create releases (one
for each platform). To create a release, we’ll use the patchwing release
command.
We can verify the releases were created successfully by visiting Patchwing console.
You should also submit the generated app bundles to the Play Store and submit the generated ipa to the App Store.
Creating a patch
Section titled “Creating a patch”Now that we have our releases on the Play Store and App Store, we can create a
patch using patchwing patch. For the sake of this example, let’s set the
backgroundColor of the Scaffold to Colors.cyan in lib/main.dart:
Now that we’ve applied the changes, let’s create a patch:
Preview the release
Section titled “Preview the release”Next, preview the app release locally on a device or emulator, use
patchwing preview.
Patchwing will download the release and run it on your device in the staging environment.
The first time the app is re-launched, we should still see the white Scaffold
and patchwing will detect and install the patch in the background. Kill and
re-launch the app a second time to see the applied patch with the cyan
Scaffold background.
If all went well, you should see the patch was applied after re-launching the app a second time. Congrats, you’ve validated your patch in the staging environment 🥳
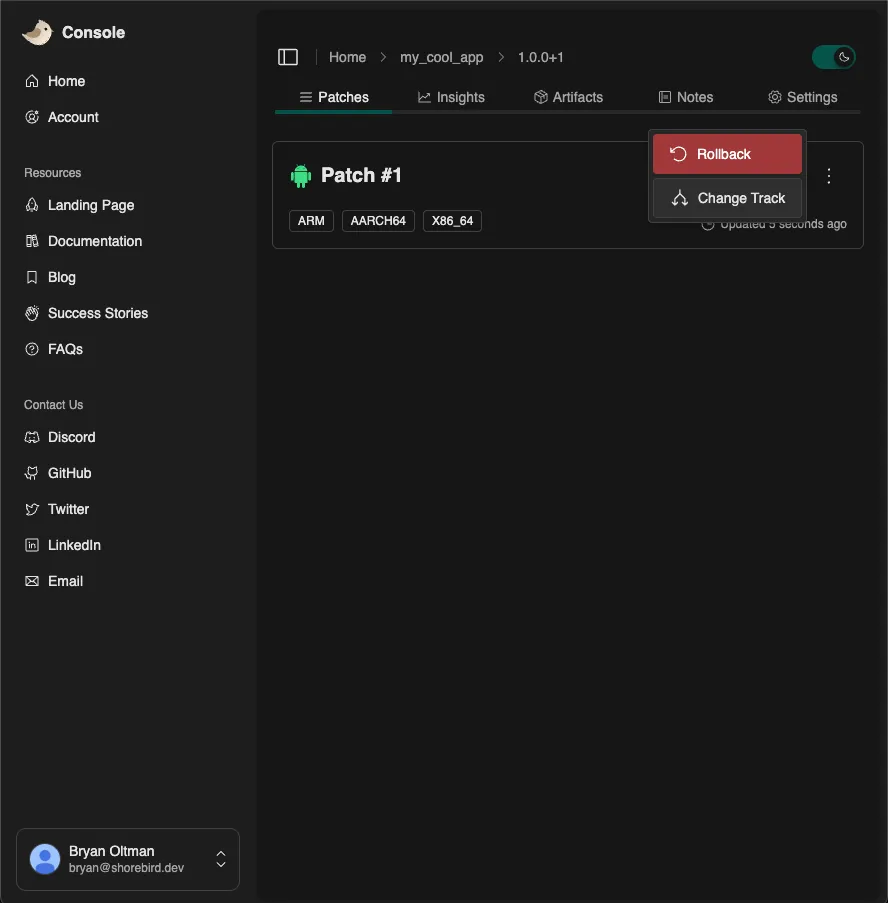
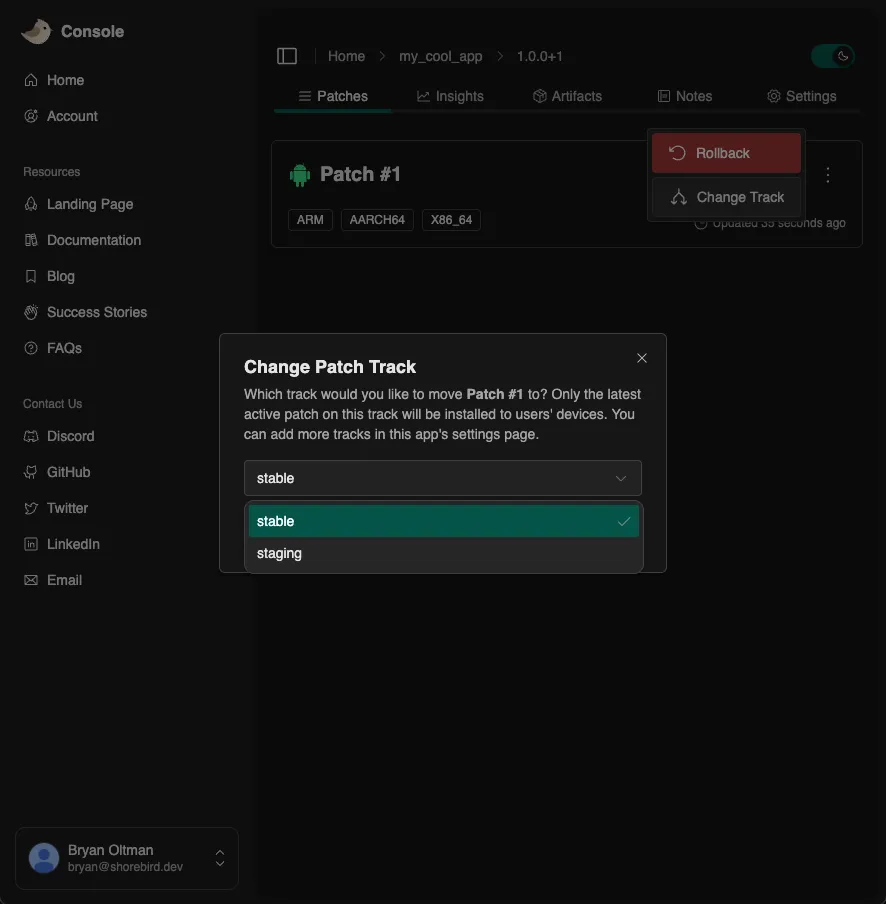
Promote the patch
Section titled “Promote the patch”Now that you have validated the patch, you can push the patch to all devices by promoting it to production from the Patchwing console. Navigate to the release details page, choose “Change Track”, and select “stable” in the dialog that appears.
You can also use the Patchwing CLI to promote the patch.
You can promote the patch to the stable channel using the following command:
At this point, you have a setup which allows you to preview patches locally before promoting them to production 🎉